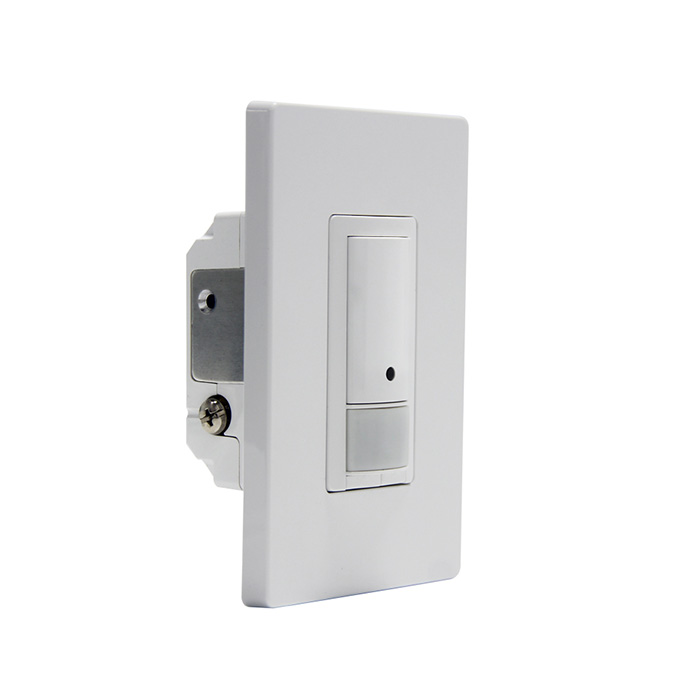
Appearance

Highlights
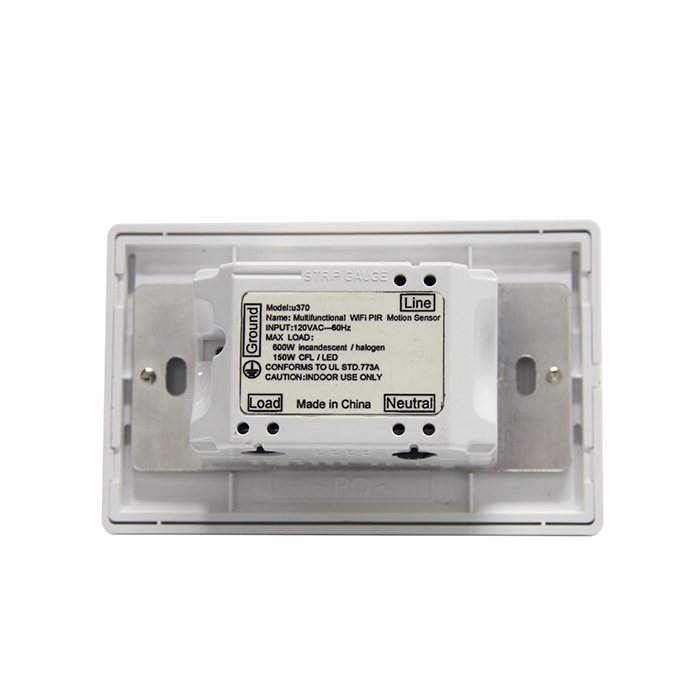
Tech Specs
Installation
&Operation Guide
Installation
- Turn off power at circuit breaker or fuse box and test that power is off before wiring.(Please switch the light several times to make sure that the power has been disconnected;
- Remove the existing switch and identify the wires with wire labels;
- Install the smart wall switch and connect the wires as required;
- Tuck the wires into the wall box leaving room for the smart switch. Using the screws provided, mount the smart switch to the wall box. Be careful not to crush any wires; (Note: Avoid overtightening the screws.)
- Install the wall plate, turn main power on at the circuit breaker, and test the switch by pressing the button; If it doesn't work, please check:
a, if the wiring is correct;
b, if the power is restored.
If it works, add the switch to the app following the "Operation Guide"
Operation Guide
1Overview
The blue indicator will flicker 3 times after being powered on and u371 PIR switch needs a warm-up time for about 30s before it can operate properly. User can adjust the ambient light override threshold and delay-off time with the front button.
2Manual and Auto Control
Press the On/Off button 5 times and the led indicator flickers. The flickering times represent different ambient light sensitivity levels as shown in the table below. Pressing the On/Off button will change ambient light sensitivity settings (cycle through different levels). If there is no operation for 5 seconds, the last value of ambient light sensitivity level will be saved automatically and the blue indicator will stay on for 2 seconds and then go off.
3Adjust PIR Sensitivity
Press the On/Off button 4 times and the led indicator flickers. The flickering times represent different PIR sensitivity levels as shown in the table below. Pressing the On/Off button will change PIR sensitivity settings (cycle through different levels). If there is no operation for 5 seconds, the last value of PIR sensitivity levels will be saved automatically and the blue indicator will stay on for 2 seconds and then go off.
Level 1-Level 7 :
1 for the lowest sensitivity (brightest ambient light);
1-7 Times respectively
4Adjust delay-off time
Press the On/Off button 6 times and the led indicator flickers. The flickering times represent different delay-off time as shown in the table below. Pressing the On/Off button will change different delay-off time (cycle through different values). If there is no operation for 5 seconds, the last value of different delay-off time will be saved automatically and the blue indicator will stay on for 2 seconds and then go off.
5Indicator Flickering Times
30 seconds
Once
1 minute
Twice
5 minutes
Three Times
15 minutes
Four Times
30 minutes
Five Times
60 minutes
Six Times
120 minutes
Seven Times
In the Box
Manufacturer Information
Part Number: ASB-01-IFQ
Warranty: One year
Designed and Made in China
Warranty: One year
Designed and Made in China
Featured App
Compatibility:
Requires Android 4.0 or later;
iOS 8.0 or later.
Tuya Smart/ Smart Life
With the Tuya Smart App, you can control all of your smart devices from anywhere in the world on your iOS/Android devices.
Tuya is the simple way to a smarter home. Download the Tuya Smart app and control your lights, appliances, or a whole room from your couch, coffee shop, or the Caribbean.
- Remotely control home appliances from anywhere
- Add and control multiple devices at once with one App
- Voice control via Amazon Echo and Google Assistant
- Interworking of multiple smart devices. Devices automatically start/stop working based on temperature, location and time
- Easily share devices among family members
- Receive real-time alerts to ensure safety
- Easily and quickly connect Tuya Smart App to devices
More information about Tuya, visit www.tuya.com